


Effective Ways on How To Burn Videos To DVD
There are people who are in need of transferring videos to DVD to be able to play those on any DVD player or even laptops. This could be done by burning those files onto a disc that will serve as the storage. With the help of several software programs that could either be free or require minimal payments, any kind of video files such as MP4, AVI, WMV, MOV, FLV, and MKV could now be burned to a playable video DVD with just a few clicks and within few minutes. Just keep in mind that when doing so, the amount of video that would be burned still depends on the sizes of the files and the capacity of the DVD disc to be used.
In this article, we will be showing and highlighting several effective ways to burn videos to DVD. Keep on reading!
Contents GuidePart 1: Top 4 Tools Help To Burn Videos To DVDPart 2: A Powerful Tool to Convert Your Burned VideosPart 3: To Wrap It All Up
Part 1: Top 4 Tools Help To Burn Videos To DVD
#1: ConvertXtoDVD
One of the numerous ways is by using ConvertXtoDVD. This is very easy to use and provides great features for all users. To begin using this, one must follow the below procedures.
Step 1: Download the application and make sure to launch it on a personal computer.
Step 2: Make sure to insert the blank DVD into the burner drive of the computer.
Step 3: Once done, open ConvertXtoDVD and click on the (+) button.
Step 4: Locate the video files you wanted to burn to DVD. Select those and click the “open ” button. Video files will now be loaded onto the disc.
Aside from this, the user could also utilize other features of this program including the addition of subtitles to the video, editing the video, or changing the DVD format.
Step 5: Once everything has been correctly set up, the “convert ” button located at the bottom of the screen must be clicked to convert and burn the video file to a DVD. This will, of course, take some minutes which mainly depends on the size of the video being burned.

#2: DVD Flick
Another useful tool is DVD Flick. This program is free software that does the same as well and promotes ease of use to the consumer. Let us look into the details of using this one.
Step 1: Same with ConvertXtoDVD, this must be downloaded and installed on a personal computer to proceed.
Step 2: Insert the disc onto the burner drive of the computer.
Step 3: Click the “Add title” button located on the right side of the screen.
Step 4: Find all the videos you wanted to turn on the DVD and click on the “open ” button to be able to load the video files onto the disc.
One good feature of this application is the “Project settings ” menu wherein one can change the settings of every aspect of the DVD such as audio, video playback, burning, and general settings. Just make sure to click on the “Accept ” button to save the settings changed. Same with the previous software, subtitles could as well be created using this program.
Step 5: Once done with the changes, the “Create DVD ” button located on the top menu must be clicked. DVD Flick will now burn the videos to playable DVD.
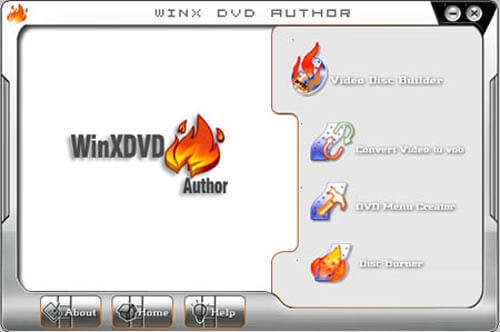
#3: WinX DVD Author
The third program that would be introduced is WinX DVD Author. This application is a typical small DVD authoring software that offers minimum functionality. It consists of four smaller applications that can author, convert, compiles and of course burn videos to DVD.
If you would choose to use this one, the below steps could be applied.
Step 1: Have this software downloaded and installed on your personal computer.
Step 2: Launched the application and make sure to insert the disc onto the drive.
Step 3: Once opened, click on the (+) located on the bottom left and select the files desired to be burned. This as well offers editing options.
Step 4: Upon finishing the changes, by clicking the “Start ” button, the application will burn the video to the disc within just a few minutes.
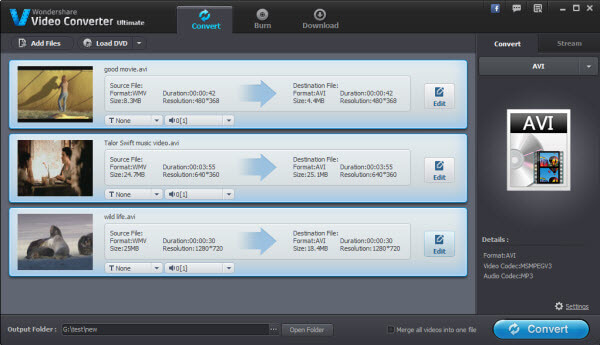
#4: Wondershare Video Converter Ultimate
In addition to those three explained above, another tool that could also be of help is Wondershare Video Converter Ultimate. This performs the same functionalities of the mentioned programs and offers great features. If you want to use this program, the below steps could be followed.
Step 1: Make sure to have this downloaded and installed on your computer.
Step 2: Insert the blank disc on the DVD drive.
Step 3: Open the program and click on the “Burn” button located on the top menu.
Step 4: Once done, the screen will ask you to add the files needed to be burned.
Using this software allows the user as well to include subtitles on the video by clicking the “T None” button. By clicking this, one would need to select the subtitle track from a drop-down list and click on the “Add Subtitle ” button from the list. You must go to the location wherein the subtitle file is stored, choose the file, and click “Open”. At the “Burn Settings, ” you will be seeing at the right side, there are a lot of settings one can view including the changing of template, DVD label, Burn to, Quality, Aspect Ratio, and More.
Step 5: Once you are done with anything you wanted to customize or change, the “Burn ” button located at the bottom right of the screen can now be clicked to proceed with the process. Same way, the amount of time needed will depend on how huge the video files are.
Part 2: A Powerful Tool to Convert Your Burned Videos
After introducing methods to burn videos to DVD, I would like to share with you amazing software which can help you convert the burned videos. This application lets the user experience ways to convert, edit and play videos, DVD and even audios. It offers a high-speed conversion process while supporting a multi-core processor. What is fascinating is that one can even edit videos with great effects or even clip any desired portion of a video or audio file. You can merge them as well to arrive with one astonishing video or audio with enhanced quality.
To use this, the following steps could be done:
Step 1: Make sure to download Dumpmedia Video Converter and install it.
Step 2: Launch the program and click the “Add files” button to select the desired file to convert. You can as well drag and drop the files directly from the location to the application.
Step 3: Click the “Convert all tasks to ” to select the format wanted.
Step 4: Once done, choose the destination folder wherein the output would be saved.
Step 5: Click the “Convert ” button to begin with the conversion process.
The whole procedure is simple which will take a few minutes. Once completed, you can now use your brand new video/audio file.
Part 3: To Wrap It All Up
There are actually a lot of ways to burn videos into playable DVDs. These four are just some of those popular and commonly used. These software programs explained above were proven to be tested by a lot of users. With the features offered and user-friendly interfaces, most tend to rely on these amazing applications. Rest assured that all these were as well verified to produce amazing and high-quality outputs.

30% Off >>>