


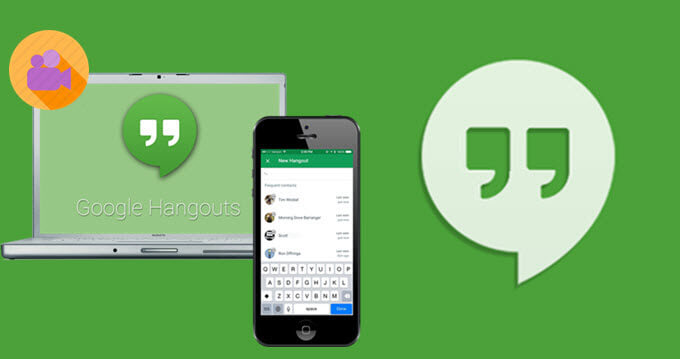
How to Record A Google Hangout Meeting?
A lot of people would love to have meetings in person and record conversations for certain purposes. However, most people have constraints when it comes to budget, distance, and time. Thus, it is impossible and even impractical to meet everybody you need to interview in person.
To record a Google Hangout meeting is an excellent choice if you need a soft copy of your interview with a renowned person. Or, it can be useful if you need to capture meetings with employees for business purposes.
In this article, we will tell you how to record a Google Hangout meeting to meet your specific needs. We will first talk about permissions. And then, we’ll dig into the meat of the topic. Let’s get started.
Contents GuidePart 1: Getting Permissions For RecordingPart 2: How To Record A Google Hangout Meeting (Windows Or Mac)Part 3: Converting Google Hangout Recording To Another File FormatPart 4: In Conclusion
Part 1: Getting Permissions For Recording
Before you record a meeting, you must first ask for permission. There are various laws around the world with regards to conversations. Thus, you should be aware of what your own local government has around this subject. You might even ask your interviewees to put their signature on release forms which depend on how the footage will be used.
Part 2: How To Record A Google Hangout Meeting (Windows Or Mac)
There are a variety of software options you can use to record a Google Hangout meeting. In this article, we recommend using Snagit as it is very easy to use. You can download the tool on their official website and you can use its free trial version for about 15 days.
When you want to record a Google Hangout meeting, you can select if you wish to capture audio, the screen, or even additional monitors. Once you have finished the recording process, you can simply save the footage on the computer. Then, you can convert it or share it with anybody who requires the data you have. Below are the steps on how to record your meeting on Google Hangouts.
Step 01: Prepare Your Screen Or Computer
You should be preparing your screen before the actual recording process. In this way, you can prevent re-recording and even save more time when editing. That’s why before you record a Google Hangout meeting, launch a browser, and press “Record,” there are some steps you have to go through.
#1: Preparing The Computer
First, you should know that it takes a lot of computing power necessary to run recording processes. Plus, you would have to launch Google Hangouts simultaneously. Thus, to get great results, you have to shut down unnecessary software or apps in your computer. It is recommended that you turn them off completely instead of minimizing them. This will help with the computer’s overall performance.
Plus, you have to make sure that each type of notification is deactivated. For instance, Facebook or Messenger app on your computer might begin sending notifications. Or, someone else might call you on another software. This is a big NO-NO. It will ruin your call and the entire video recording you’re doing. It will look childish on your presentation as well. So, you have to make sure that all notifications are actually deactivated.
#2: Setting Up Your Lighting And Camera
Now that you’ve have prepared your computer, you must set up your lighting and camera. In this part, you’ll have to adjust the webcam (whether internal or external). You’ll also have to adjust the room and the video lighting.
Make sure your room is well-lit and of course, it should be perfectly arranged in such a way that looks great. Plus, if you don’t have natural light coming into your room, you must use another lighting in order to brighten up your space.
Ensure that the light is placed directly in front of your face. In this way, you don’t make shadows across it. Nothing fancy is needed here. You just have to make sure you can be clearly seen in the video recording.
You should also carefully place your camera. Make sure you are clearly seen and the background doesn’t distract from you, the one who is going to be in the recording. Also, make sure anything that can distract the person from focusing on you will be removed from the background.
#3: Limiting Or Completely Removing Background Noise
It’s high tide to check out the background noise that can be heard in the recording environment. There will always be noise in the background; however, you might want to limit it to a minimum. Usually, culprits include office chatter, HVAC systems, road noise, and light buzz, among others.
If you are located within an office and you have to close the door, make sure you put out a sign that say’s you’re video recording. In this way, your colleagues will know that they should limit their noise as much as possible.
#4: Technical And Hardware Considerations
Audio Settings
It can be tricky to record audio. This is because you might not have total control over how it works. However, when you record a Google Hangout, you would want the person on another side of the line to have excellent audio as well.
Thus, for this, you must recommend the other person to use an external microphone. This is because built-in microphones within laptops perform lousier compared to external mics. These built-in microphones can disappoint you when it comes to recording audio.
If the other person has his or her own external webcam, it might include a microphone within it. This is good enough to record excellent-sounding audio. You might want to consider giving the other person an external microphone plugged into a USB.
Excellent microphones don’t have to cost a lot. You can look for online reviews regarding the best-sounding microphone priced at a reasonable cost. But one of the most important things to consider is making sure the audio really gets recorded. Or, you might end up having a video with no sound coming off of it. When you record a Google Hangout meeting in Snagit, always test the microphone before clicking the record button.
Video Settings
Similar to built-in microphones, laptop cameras built into it aren’t the best. This is except for Apple computers which tend to have good cameras in it. In order to work your way around it, you have to make sure to give the other person an external webcam. In this way, you can ensure a video stream of higher quality.
The video will not be perfect. This is the truth of reality since a lot of factors will come into play. For instance, the capacity of your computer and the speed of the Internet connection will affect the quality of your video. That’s why you have to do the tips we have recommended above to ensure a higher-quality meeting.
Step 02: Customize Recording Settings
In this step, you have to press the tab for Video in order to customize the settings. You can choose to capture the cursor or not. You can also choose to record the full screen or a region only. Of course, make sure you turn “Record Microphone” activated.
Step 03: Record
Press the red “Record” or “Capture” button. You can adjust some settings in here as well. Now, you can start recording your meeting with your interviewee. Make sure the entire process runs smoothly as possible.
Step 04: Complete Recording
Now, stop the recording once the meeting is complete. You can open the recording within Snagit Editor in order to preview the captured footage. You can also make simple, quick edits if you want to. There are a lot of capabilities in this tool and it’s up to you to take advantage of it.
Step 05: Save Your Video
Now, in this step, you can simply save your footage to a location on your computer that you like. Or, you can use the Share menu in order to share it with others who might need the footage. By now, you have completed all the steps on how to record a Google Hangout meeting.
Part 3: Converting Google Hangout Recording To Another File Format
You might wish to convert the footage you acquired after you record a Google Hangout meeting. For this, you have to use DumpMedia Video Converter. This is a great tool that can convert from one file type to another without losing video quality.
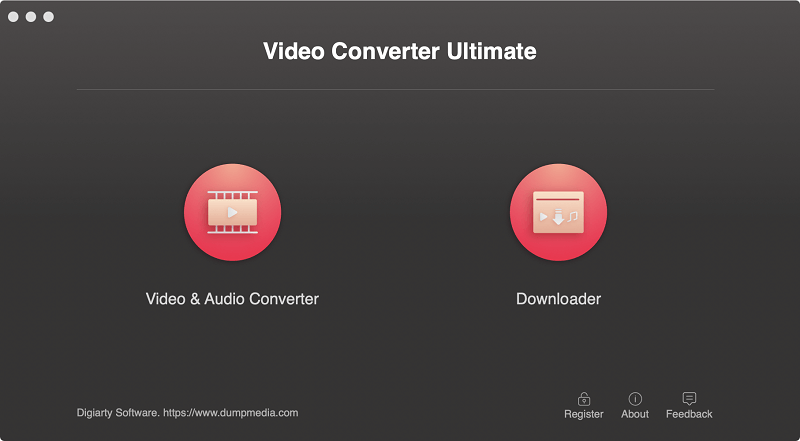
In addition, the tool can be used to download files from various multimedia websites such as YouTube, SoundCloud, Instagram, and Vimeo. It’s a great tool that was created for media enthusiasts and content creators.
Part 4: In Conclusion
In this guide, we’ve told you how to record a Google Hangout through Snagit. In addition, we’ve told you how to convert your recorded footage from one format to another using DumpMedia Converter. How about you, what’s your go-to app for recording a Google Hangout or Skype meeting? We’d love to know in your comments below.

30% Off >>>