


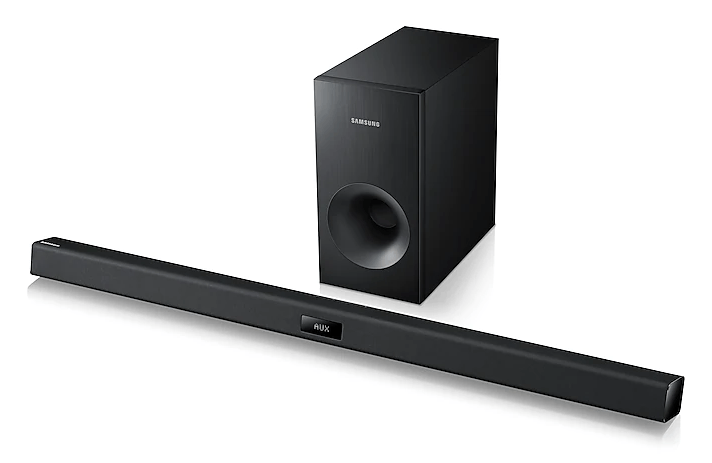
How to Set Up your Samsung Sound Bar in 2026
This post will be discussing Samsung soundbar set up so there shouldn’t be any problems for you. You just have to read what we have here and all the soundbar-related dilemmas you have in mind will be removed.
In the first part, you’ll know the different methods of how to connect a soundbar to a Samsung TV. As you jump to the second portion, you’ll be exposed more to the process of syncing your soundbar with your TV. If these two make you so excited and curious, then what else are you waiting for?
Start learning more about Samsung soundbar setup now!
Contents Guide Part 1. How to Connect a Soundbar to a Samsung TV?Part 2. How Do I Sync My Soundbar to My TV?Part 3. Summary
Part 1. How to Connect a Soundbar to a Samsung TV?
Knowing how to connect a soundbar to your Samsung TV is a must and a part of a successful Samsung soundbar setup.
There are actually a lot of ways to have your soundbar connected to your Samsung TV. We will be discussing four methods in this part so read them all to learn a lot.
Method #1. Connect Your Soundbar to A Samsung TV Using an HDMI Cable
During the Samsung soundbar setup process, if you are into having the best audio quality, converting your music to a high-quality format like MP3 should be the first thing to do, this method of connecting your soundbar with your TV would be the best then.
Using an HDMI cable during connection will surely give you the audio quality you are expecting. The sound is being transmitted digitally and the signals are traveling both ways. This will improve the sound quality.
Here’s how to do the Samsung soundbar setup (the connection between TV and soundbar) using an HDMI cable.
Step #1. Have your HDMI cable ready.
Step #2. You have to connect the HDMI cable to your Samsung TV’s “HDMI in (ARC)”.
Step #3. The other end should be connected to the soundbar’s “HDMI out (TV ARC)”.
Step #4. You now need to turn on your soundbar and then make sure to set the source to “D.IN.”.
After completing these four steps, you should now hear the sound through your soundbar.
Method #2. Connect Your Soundbar to A Samsung TV Using An Optical Cable
Another important method to take note of during the Samsung soundbar setup process is how you can have your soundbar connected to your Samsung TV via an optical cable.
You only need to follow 6 steps and those will be enumerated in this section one by one.
Step #1. Have your TV and soundbar turned on
Step #2. You shall see a “Source” button on your soundbar. Press it and then choose “D.IN.”.
Step #3. One end of your optical cable should be connected to your TV’s “OPTICAL OUT” port. Afterward, have the other end connected to the DIGITAL AUDIO IN (OPTICAL) port of your soundbar in use.
Step #4. Now, head to your TV’s “Settings”.
Step #5. You have to select “Sound” and then choose “Sound Output” afterward.
Step #6. Choose the “Audio Out/Optical” option then.
Method #3. Connect Your Soundbar to A Samsung TV Via Bluetooth
Before we discuss how you can do the Samsung soundbar setup using Bluetooth, it must be noted that connecting via Bluetooth won’t produce the same audio quality as that of connecting via an HDMI cable. Still, many users are into Bluetooth connectivity as this one’s wireless. And there could also be possible interruptions during streaming due to other factors like issues with other devices and the like.
But still, for others who find it great to use Bluetooth to connect their soundbar to their TVs, we, of course, have a detailed step-by-step procedure here.
Step #1. On your soundbar, press the “Source” button and choose the “BT” setting. It will automatically change to “BT PAIRING” mode or in “BT READY” mode if there’s already a recorded connection.
Step #2. Once you saw the “BT READY” notification, you need to hold the “Source” button for 5 seconds and wait until the “BT PAIRING” is displayed.
Step #3. Now that the soundbar has been in the pairing mode, head to your TV and then navigate to settings.
Step #4. Choose “Sound” and afterward, “Sound Output”.
Step #5. Choose the “Bluetooth Speaker List” option.
Step #6. You now have to select the name of your soundbar from the list displayed and then just choose “Pair and Connect”.
Method #4. Connect Your Soundbar to A Samsung TV Using Your Wi-Fi
The last Samsung soundbar setup – connecting your TV with your soundbar – that we’ll share in this part is how to do it using your WiFi connection. Using WiFi could be better for some as it has a wider range and even offers multiple and several connections.
Here’s how you can connect your soundbar to your Samsung TV via WiFi connectivity.
Step #1. On your Soundbar, press the “Source” button and then choose the “WiFi” mode.
Step #2. Your device should be connected to the same WiFI network that your TV has been connected to.
Step #3. Your mobile device should have the “Samsung SmartThings” installed in it.
Step #4. Once the Samsung SmartThings app has been installed on your mobile device, launch it and then tick the “+” icon.
Step #5. The screen should show “Device” as the first selection.
Step #6. Tick the “AV” button and then choose the brand of your soundbar.
Step #7. Click the “Start” button and then choose the location and room. Your mobile device will then do the search for the soundbar and then connect.
Step #8. On your TV, head to the “Settings” button.
Step #9. Now, choose “Sound” and then “Sound Output”.
Step #10. Lastly, select “WiFi”.
Upon reading the above four methods, you now surely know how to do the proper Samsung soundbar setup when trying to connect your soundbar to your TV.
This isn’t only the information we prepared for you. We sill have more as you move to the second part.
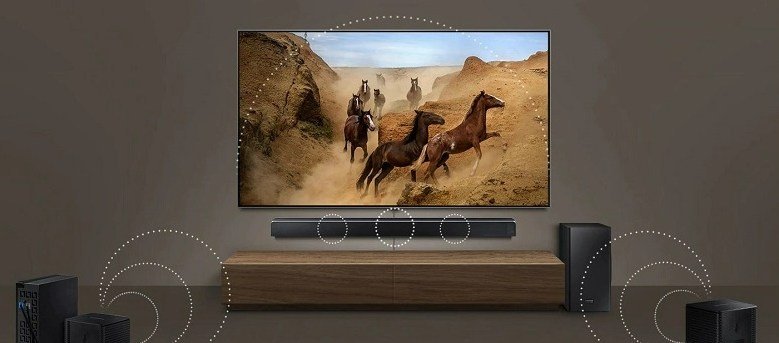
Part 2. How Do I Sync My Soundbar to My TV?
If you wish to listen to some Spotify songs on your TV using your soundbar, the best way to make it uninterrupted is to have the songs downloaded first.
How can downloading be possible given that Spotify songs are protected by DRM encryption? Well, that’s simple! You have here the DumpMedia Spotify Music Converter.
The DumpMedia Spotify Music Converter can do the DRM removal process and can even let you convert the Spotify songs to any output format of your choice while keeping 100% original output quality, metadata information, and even ID tags. It’s too fast as well making you have the new files ready right away. And you can use this easily.
Here’s how to use DumpMedia Spotify Music Converter to download Spotify songs for offline streaming on your TV using your soundbar.
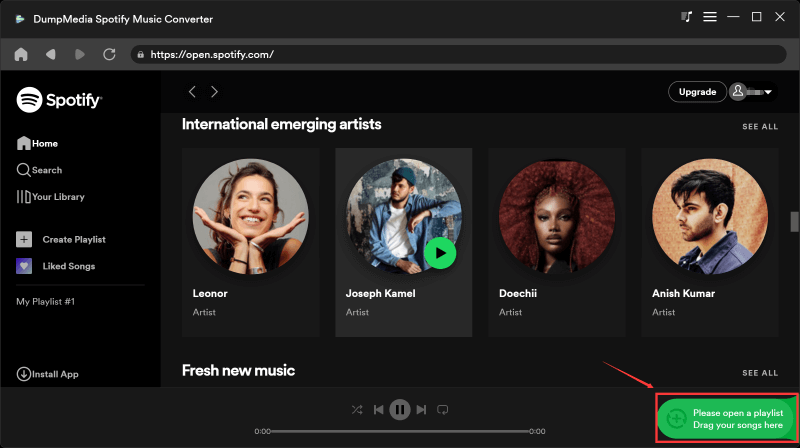
Step #1. Upon downloading the DumpMedia Spotify Music Converter installer and having it completely installed on your PC or Mac, just simply launch it and then tap the “Open the Spotify Web Player” button to log into your Spotify account using your username and password.
Step #2. Once you are on the Spotify page, select those songs and playlists to download and convert. Once the selection is done, just drag and drop them to the green button that you can find easily at the sidebar of the screen.
Step #3. Do the output set up – the output format to use as well as the output folder. You can also do some changes in the output settings if you wish to.
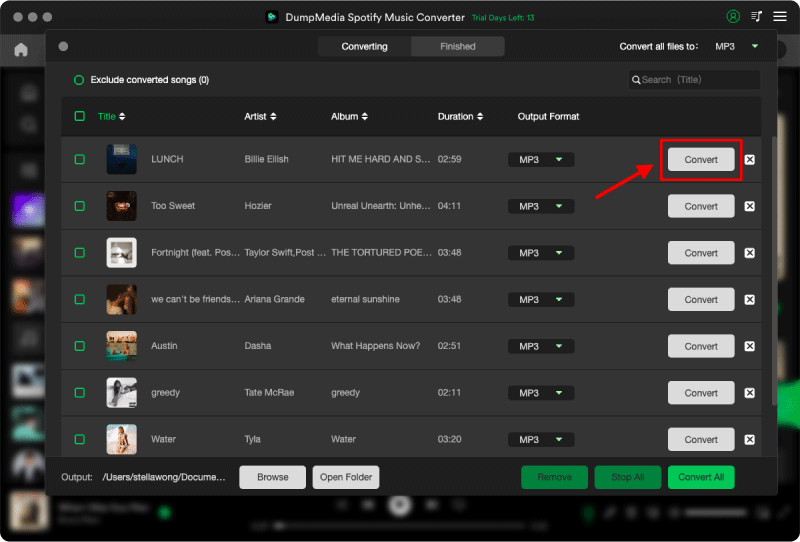
Step #4. Once everything has been set up accordingly, just tap on the “Convert” button. This will start the conversion process as well as the DRM removal procedure.
Since this DumpMedia Spotify Music Converter works incredibly fast, you can expect the output files to be ready in no time. You can just have them saved on any external drive like USB and then connect them to your TV. Make sure that your TV and soundbar have been successfully connected so as to ensure that the streaming process would be okay as well.
Part 3. Summary
Performing a Samsung soundbar setup – when connecting your TV to your soundbar – is just easy. We have shared four methods in the first part to help you out.
Also, if you want to stream some Spotify songs on your TV using your soundbar, you can easily download and save any track you like using an app like this DumpMedia Spotify Music Converter.

30% Off >>>