


How to Put Music on Windows Media Player from YouTube
You can listen to a ton of songs online via YouTube Music, which is a platform dedicated huge music. However, occasionally the Internet goes down and you are unable to listen to the songs on it. For offline listening, a lot of you will thus often download songs from YouTube Music and save them on local media players like Windows Media Player.
Nevertheless, there isn't an official method for downloading music from YouTube to Windows Media Player. To get around this issue, we provide you the efficient way about how to put music on Windows Media Player from YouTube for offline listening. The technique can also be used to add YouTube music to other players. Now let's get going!
Contents Guide Part 1. How to Convert Music from YouTube Music to Local FilePart 2. How to Put Music on Windows Media Player from YouTubePart 3. FAQs about How to Put Music on Windows Media Player from YouTubePart 4. Summary
Part 1. How to Convert Music from YouTube Music to Local File
Although users can download songs through YouTube Music Premium, since YouTube Music songs are protected by DRM, these downloaded songs can only be played on YouTube Music and cannot be played on Windows Media Player. Because YouTube Music tracks are protected by DRM, it might be difficult to want to put music on Windows Media Player from YouTube. It is challenging to listen to music offline on other devices due to this digital lock, which binds music to particular gadgets.
However, there are third-party music converters that can bypass this restriction, and one of the best options is DumpMedia YouTube Music Converter. This powerful tool offers several key advantages:
High-Speed Downloads : Enjoy download speeds up to 10 times faster than usual, making it incredibly efficient for users with large music libraries.
Format Compatibility : Supports a wide range of popular audio formats, including MP3, WAV, FLAC, and M4A, ensuring compatibility with almost all devices and media players.
Quality Preservation : Maintains the original quality of the tracks, allowing you to enjoy high-fidelity sound without any loss.
User-Friendly Interface : Features an intuitive interface that simplifies the conversion process, making it easy for even beginners to convert and transfer their favorite songs.
Additional Features : Includes useful features such as batch conversion and metadata editing, giving you greater control over your music collection.
Here is a guide about how to use DumpMedia YouTube Music Converter:
Step 1: Download and Install
Begin by downloading and installing DumpMedia YouTube Music Converter for free on your computer. Simply click the download button to get started.
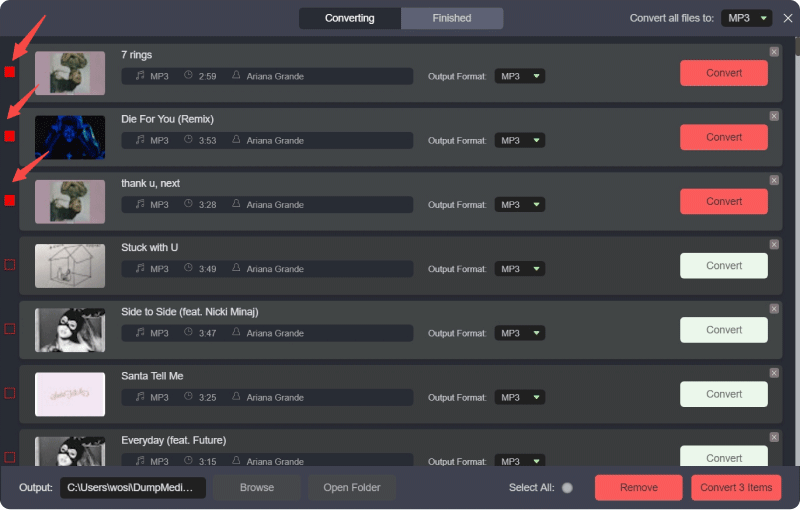
Step 2: Select Songs
You can start with a free trial before logging into your account. Browse your YouTube Music library to find the songs or playlists you want to convert and add them to the conversion queue.
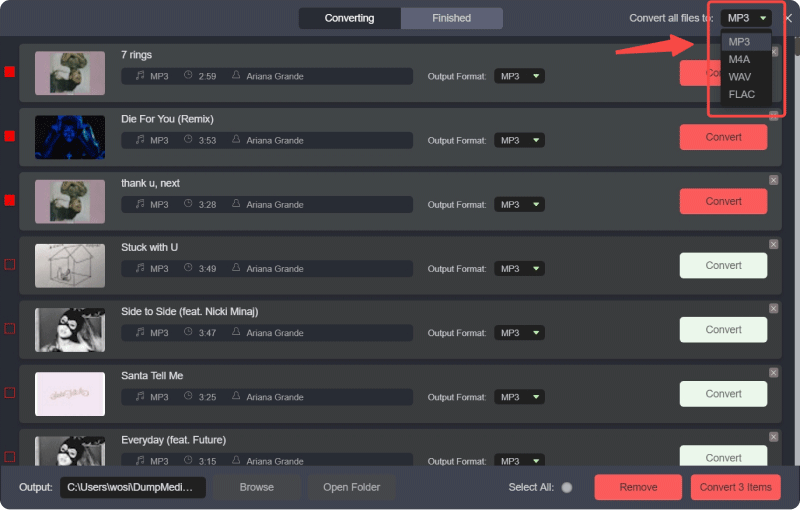
Step 3: Customize Output Settings
Choose your preferred output format, such as MP3, M4A, WAV, or FLAC. You can also adjust settings like bitrate and sample rate to control the quality and size of the converted files.
Step 4: Select Output Folder
Decide where on your computer you want to save the converted files. This will help you easily locate them after the conversion process is complete.

Step 5: Convert Songs
Click the "Convert" button to begin the conversion. The software will quickly convert your selected YouTube Music tracks into high-quality files. Once the conversion is complete, you’ll find the files in your chosen output folder.

Part 2. How to Put Music on Windows Media Player from YouTube
Now that you have downloaded YouTube Music songs to your computer, you can start transferring them to Windows Media Player. Please follow the steps below:
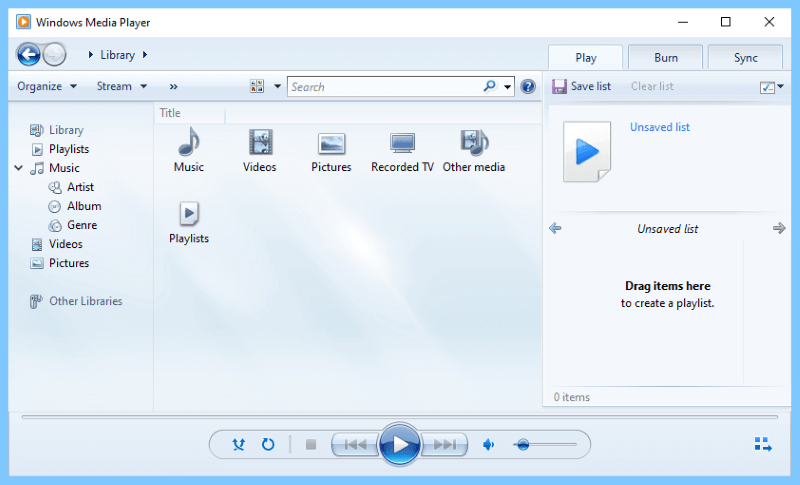
Step 1: Open Windows Media Player
Open Windows Media Player on your computer.
Step 2: Access Library Management
Click on "Organize " from the menu, then select "Manage Libraries " and choose "Music."
Step 3: Add Downloaded Music
Click "Add," navigate to the folder where your downloaded YouTube Music is stored (e.g., Downloads > Music > Desktop), select the target files, and add them to Windows Media Player.
Part 3. FAQs about How to Put Music on Windows Media Player from YouTube
Q1. Can I add music from YouTube to Windows Media Player?
Yes, you can add music from YouTube to Windows Media Player. You need to download the music from YouTube using DumpMedia YouTube Music Converter and then add the downloaded files to your Windows Media Player library.
Q2. What formats are supported by Windows Media Player?
Windows Media Player supports various formats including MP3, WMA, WAV, and FLAC. Ensure your downloaded YouTube music is in one of these formats.
Q3. Can I organize my downloaded YouTube music in Windows Media Player?
Yes, you can organize your music by creating playlists, editing metadata, and sorting by artist, album, genre, etc.
Q4. How can I ensure high-quality music downloads from YouTube?
Use a reliable converter tool like DumpMedia YouTube Music Converter, which offers high-quality audio downloads and allows you to customize settings like bitrate and sample rate.
Q5. Can I use Windows Media Player to burn YouTube music to a CD?
Yes, once you have added the music to Windows Media Player, you can use the "Burn" feature to create a music CD.
Part 4. Summary
When it comes to adding music from YouTube to Windows Media Player, the process involves bypassing DRM restrictions typically found on YouTube Music. DumpMedia YouTube Music Converter emerges as a powerful solution, allowing users to convert YouTube Music tracks into compatible formats like MP3, WAV, FLAC, and M4A. This converter stands out with its high-speed download capabilities, ensuring efficiency even with large music libraries.
It prioritizes audio quality preservation and offers a straightforward interface for seamless conversion. Once converted, integrating these tracks into Windows Media Player is straightforward, enabling hassle-free offline listening. Discover our comprehensive guide for step-by-step instructions on merging YouTube Music seamlessly with Windows Media Player.

30% Off >>>