


How to Keep Spotify Music After Unsubscription
There are lots of reasons why you would need to stop your paid Spotify subscription. It could be that you don’t want to pay extra bucks for it anymore. If you think about it, the monthly fee could add up. You can just take that and save it instead or maybe use it for other practical reasons.
Now, there has got to be a way to be able to keep Spotify music after unsubscription. Whatever your reasons are for stopping your paid subscription, there has got to be a way to keep Spotify music. What a waste if you can’t access them anymore. Read on to learn how you can keep Spotify music after unsubscription.
Contents Guide Part 1. What Happens to My Music if I Cancel Spotify Premium?Part 2. How to Cancel Your Spotify Subscription?Part 3. Options to Keep Spotify Music After UnsubscriptionPart 4. Conclusion
Part 1. What Happens to My Music if I Cancel Spotify Premium?
If you think you have to end your paid Spotify subscription, it’s worth knowing what’s going to happen to the songs you have downloaded. As you know pretty well, one of the benefits of subscribing to a premium Spotify account is that you can download songs to listen to them offline. Once you stop your paid subscription, you won’t be able to listen to Spotify offline.
Now, you might wonder: what happens to the songs that you have downloaded? Can you keep Spotify music forever after canceling Spotify subscription? After all, you did download them to your computer already, right?
Well, here’s the thing. Those songs are bound to disappear several days after you have stopped your premium payment for Spotify. To put it bluntly, there is no way for you to keep Spotify music after unsubscription if you have downloaded it within the app. Yes, within the Spotify app.
Part 2. How to Cancel Your Spotify Subscription?
If you’ve decided to terminate your paid Spotify account, the steps below will show you how you can cancel your subscription.
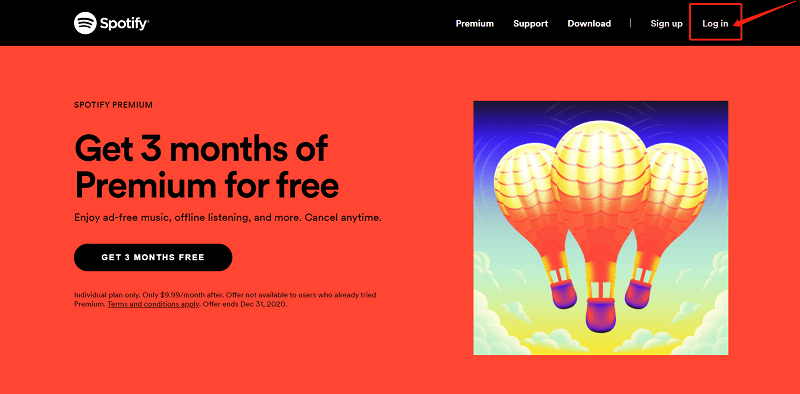
Step 1. Sign in to your Spotify Account
Go to the Spotify website and sign in to your account. Click on the Log In tab you see on the bar, right-hand side of the screen.
Step 2. Go to Subscription
Once you’re on your Spotify account, take your cursor to the left panel. Scroll down and look for Subscription.
Step 3. Look for the Change or Cancel Tab
Once you click on Subscription, the main screen of your Spotify will show you a summary of your premium account. You will also see a green tab that says Change or Cancel. Now, if you’re sure about canceling, just click on this tab.
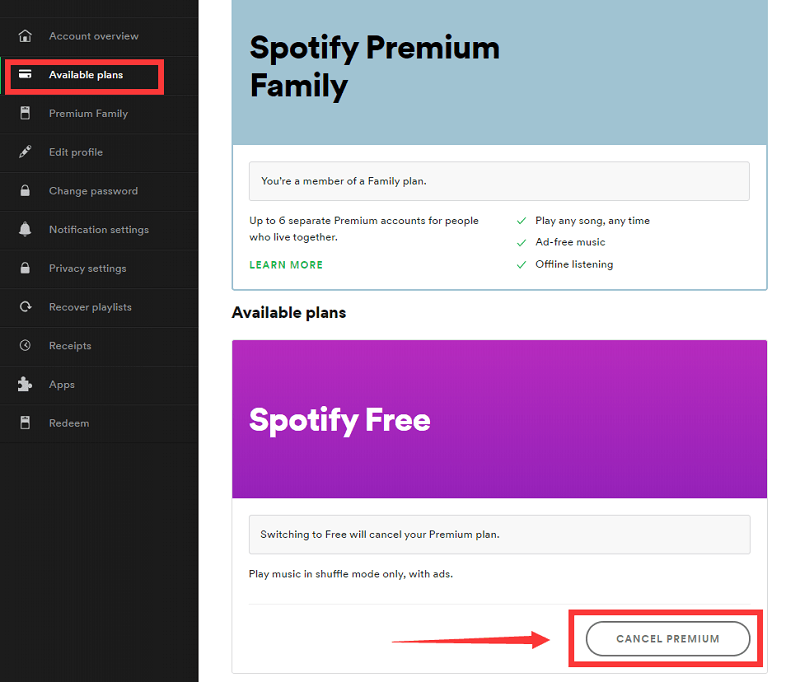
Step 4. Click on the Cancel Premium Tab
Once you have clicked on the green tab that says Change or Cancel, you will be taken to another window. On this particular window, you will see another tab that says Cancel Premium. This tab is on the lower, right-hand side of the screen. Click on it. Another window will appear to confirm your action. To confirm, click on the tab that says Yes, Cancel.
Step 5. Fill Out a Survey
After you have done all the steps above, you would have to fill out a survey. It’s a pretty short survey. Scroll down and you will see the survey at the bottom part of the screen.
Part 3. Options to Keep Spotify Music After Unsubscription
It’s pretty sad that you won’t have access to the downloaded songs once you stop your premium subscription. Well, that is true if you have downloaded your songs within the Spotify app. If you want to keep DRM protected Music after unsubscription, here are three options for you to consider keep Spotify music after unsubscription.
Option #1. Use the DumpMedia Spotify Music Converter
The DumpMedia Spotify Music Converter is a great DRM removal program if you want to keep your Spotify songs. The steps below will show you how easy it is to use.
- Download from the DumpMedia Website.
- Add Songs from Spotify
- Customize Output Settings
- Save to Computer, Convert, and Download
The steps below are more detailed for a better understanding of the program.
Step 1. Download from the DumpMedia Website.
Click on this link to access the DumpMedia Spotify Music Converter. Download the DumpMedia Spotify Music converter by clicking on the I need a Mac version link.
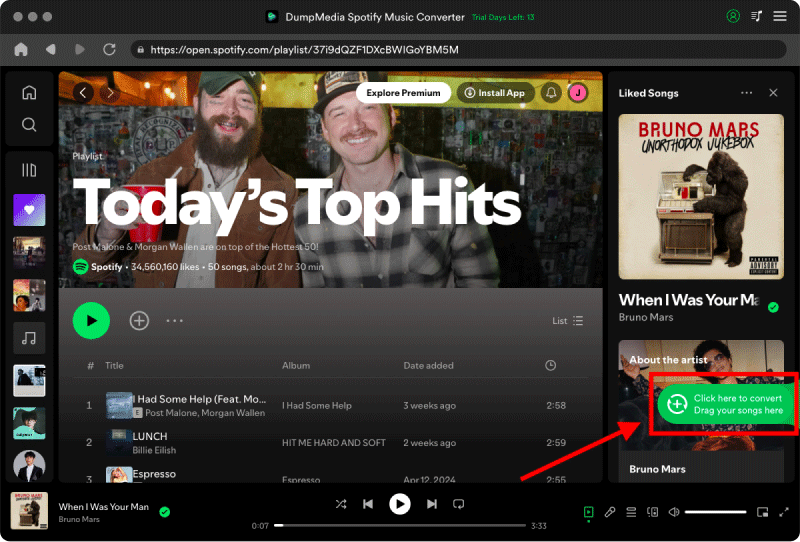
Step 2. Add Songs from Spotify
Add Spotify songs by dragging them to the DumpMedia Spotify Music Converter or by pasting the URI of a song or a playlist.
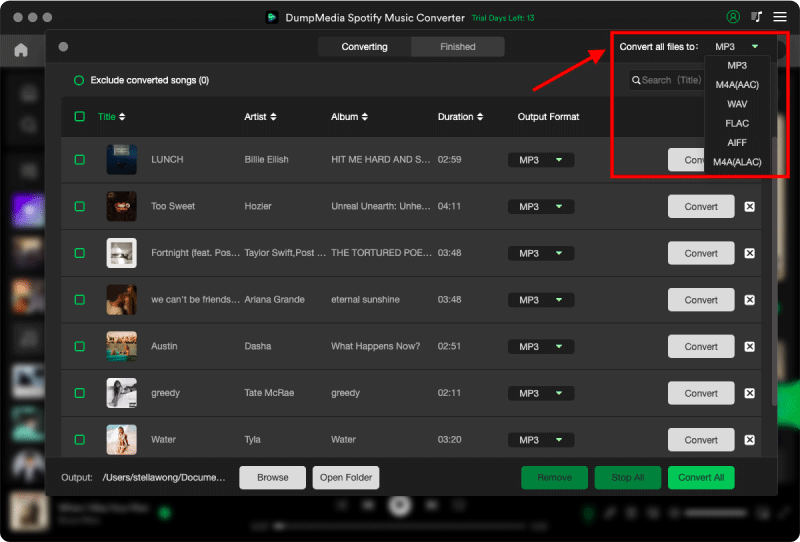
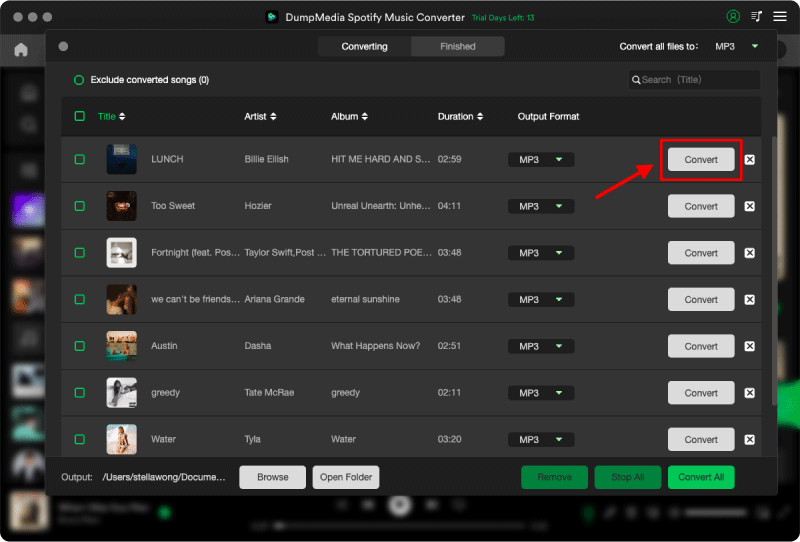
Step 3. Customize Output Settings
You can choose a file format by going to Convert all tasks field. You will see this on the top, right-hand side of the program. Click on the field to see a list of file formats.
Step 4. Save to Computer, Convert, and Download
Save to your computer by clicking on the Browse button on the bottom part of the DumpMedia Spotify Music Converter. Click on the Convert button and wait for your songs or playlists to download.
Option #2. Use Noteburner
This is also a program that you can consider keep Spotify music after unsubscription. The steps below will show you how to use it.
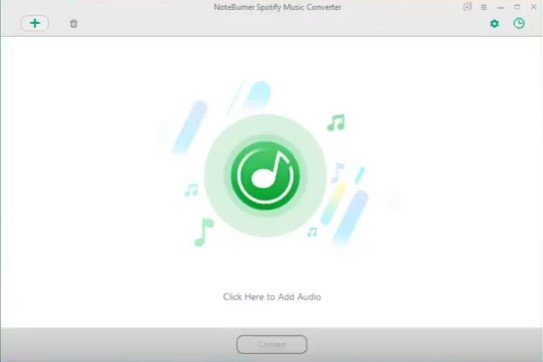
Step 1. Download from their Website
Go to their website to download the program. Once you have done so, install to start using it.
Step 2. Register your Account
Click on the key icon you see on the top, right-hand side of the screen. A pop-up window will appear.
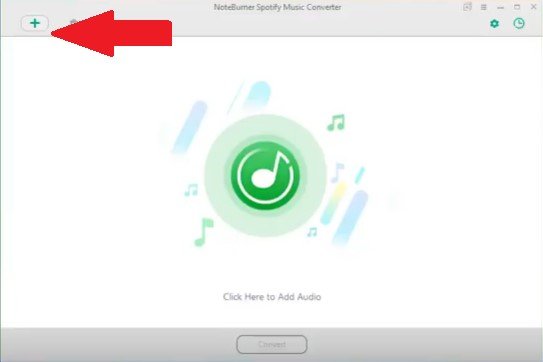
Step 3. Add Songs from Spotify
To add the songs from Spotify, you can just drag them onto the interface of Noteburner. You can also adjust the output settings if you like. Then click on the Convert button.
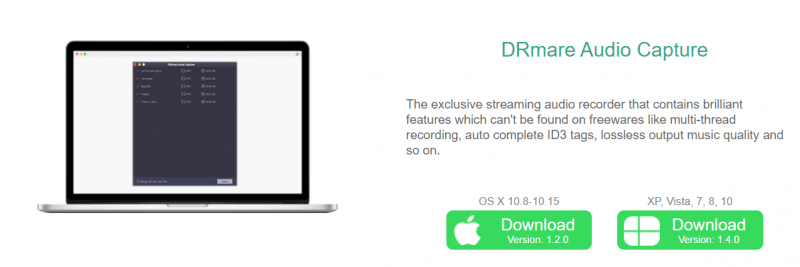
Option #3. Use DRmare
This is also another program that you can consider keep Spotify music after unsubscription. Read the steps below to see how you can use it.
Step 1. Download from their Website
You can go to their website to download the program. Then launch it so that you could start adding the songs to download.
Step 2. Copy URL of Spotify Tracks
Go to your Spotify account and choose the tracks you want to download. Copy each URL and then paste it on the DRmare program.
Step 3. Adjust Output and Convert
You can adjust the output of the tracks you want to download. Go to the menu of DRmare and select Preferences to adjust output. Then click on the Convert button.
Part 4. Conclusion
If you’re decided to end your paid subscription, go right ahead. The three options mentioned above will help you keep Spotify music after unsubscription. That way, you can save your money and still keep Spotify songs.
Are you on a premium account on Spotify? Have you downloaded any songs from Spotify for offline listening? Share your thoughts with us. We would love to hear them.

30% Off >>>